Whether a mother to be, a child, or a grandma, this is the best movie ever.

Wednesday, March 9, 2011
Tuesday, March 8, 2011
Celebrating The Art of Craft!
Today I am celebrating the art of craft with fun baby things from Etsy. I love to support the arts and instead of purchasing mass-produced decor I like to support all those stay at homers out there, just like me!
Everything Available On Etsy.com
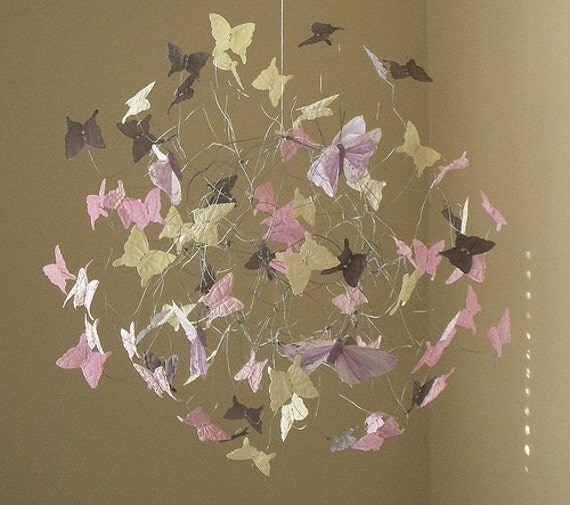
By ButterFlyOrb
...
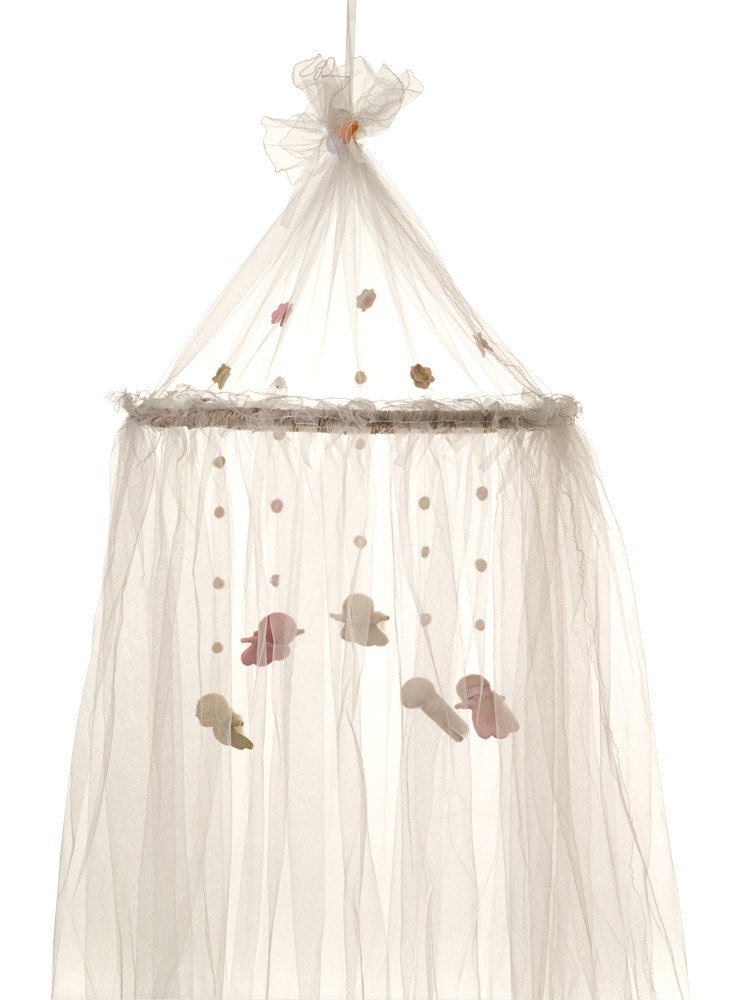
By Katkuta
...

By RAKJpatterns
...
By SweetPepperGrass
...
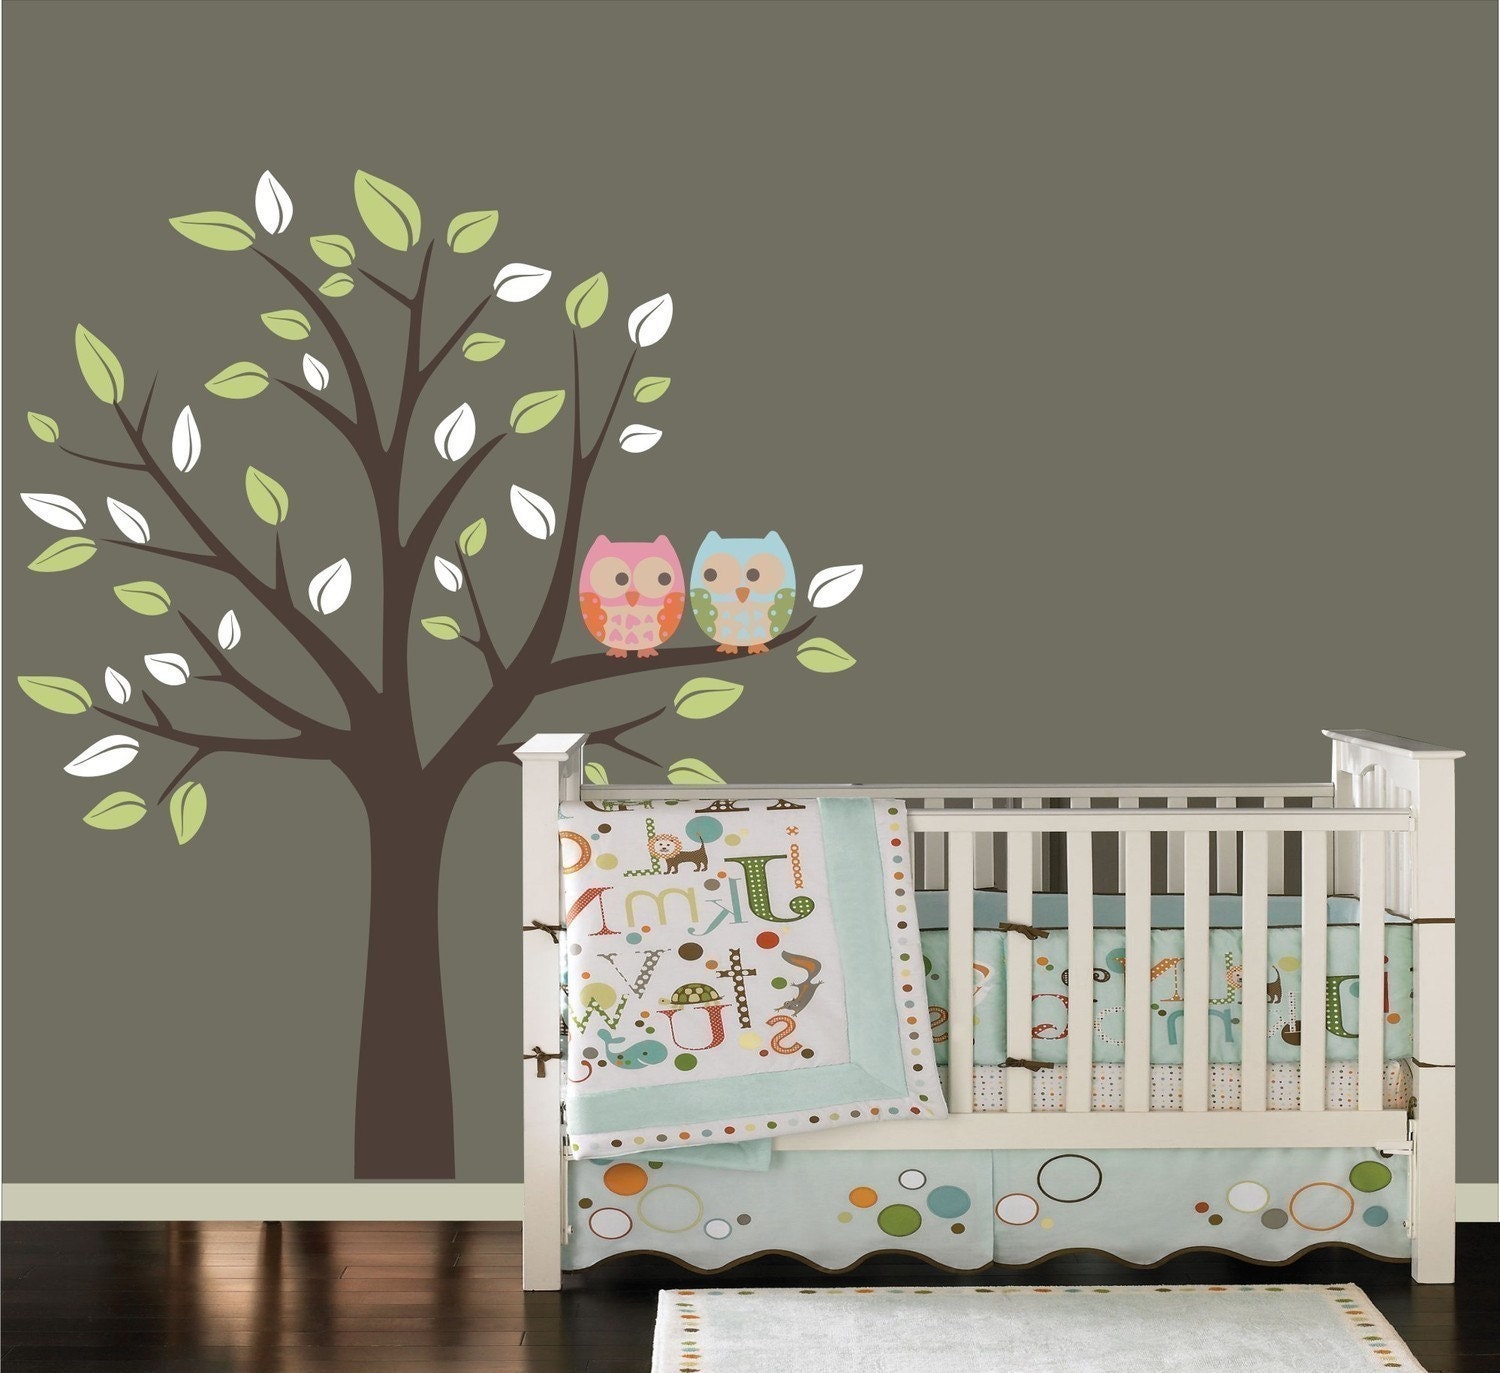
By ModernDecals
...
...
Friday, March 4, 2011
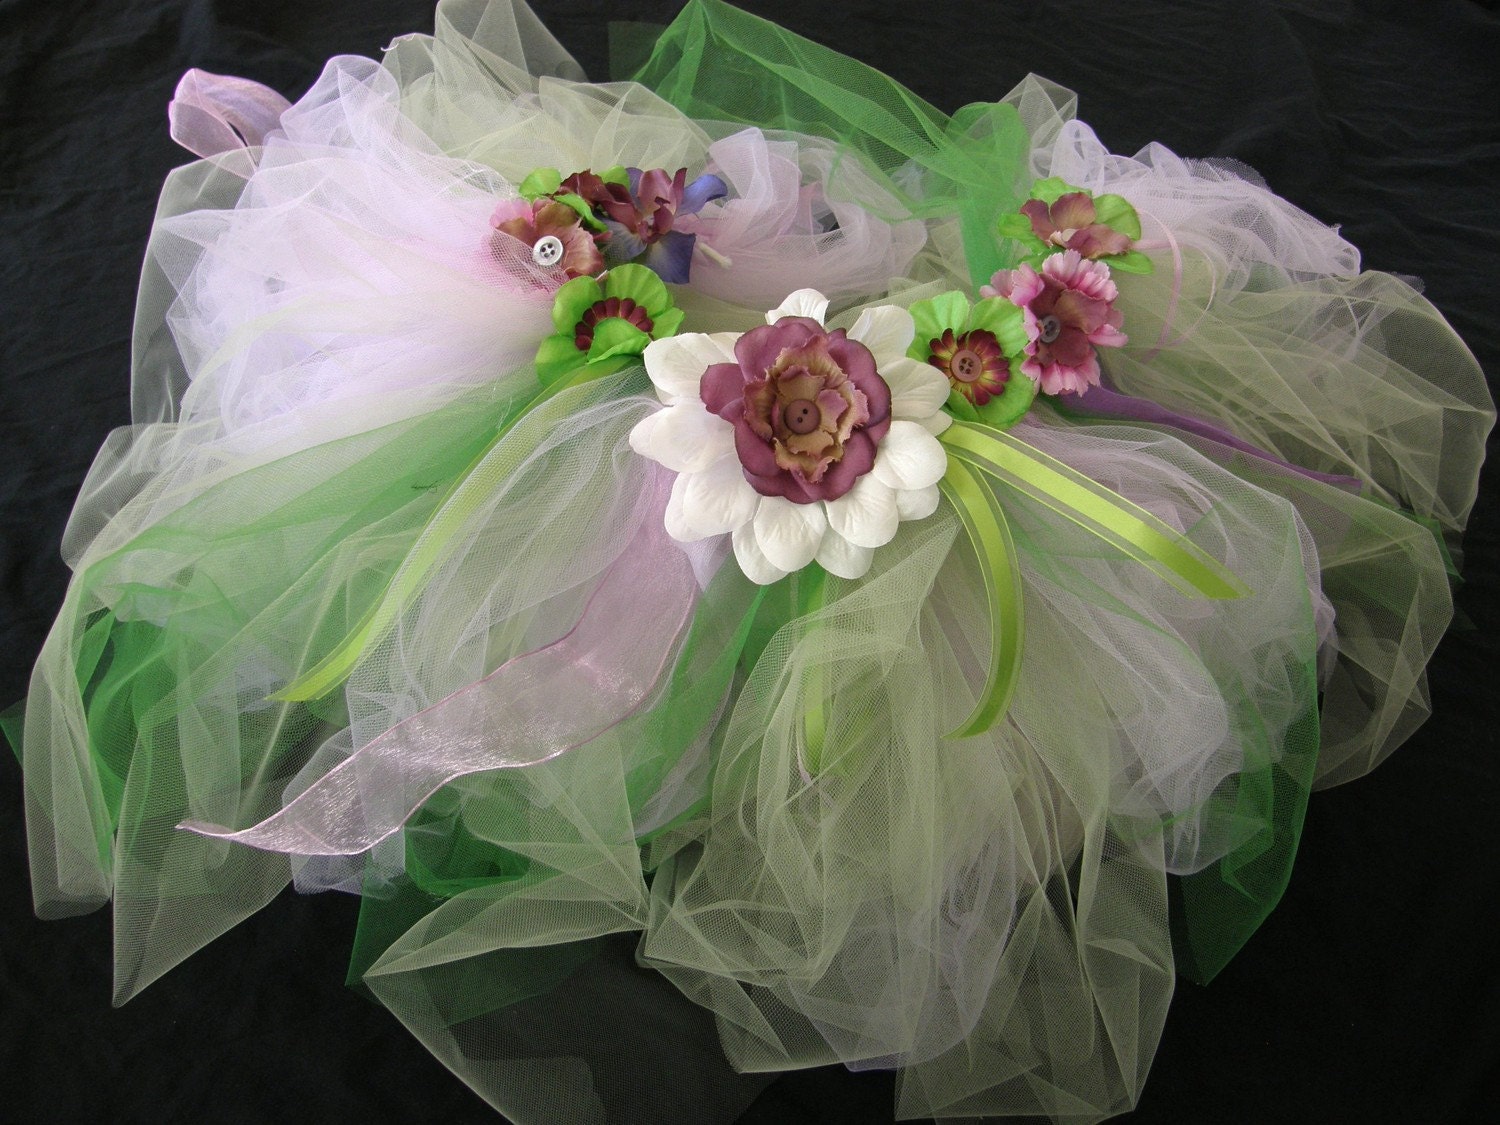
Tutu Cute!
A tutu for baby!

Today I tried my hand at tutu making and found it insanely easy and customizable. There are endless options here, and I hope you find many ways to make your own wonderful tutu from these basic instructions.
YOU WILL NEED
Tulle:
1/2 to 1 yard per color or double that if you only want to use one color (or triple it if you want a super puffy tutu which I recommend now that I've completed this project!) This depends entirely on the size of your child. I bought two half yard pieces (one total yard) to make a tutu for a newborn. Naturally the longer the fabric the more gathers and puff, too. If you want more gathers for a newborn then size up to 3/4 yards instead.
Ribbon:
I bought a 1/2 inch ribbon for the waist tie but I could have easily done a whole inch. I also bought a 2' ribbon to decorate the waist instead of using fabric which I would have to hem and sew first. You'll see what I mean as you read on through these directions.
Sewing Machine and Matching Thread
Pins
Wooden Dowel, Pencil, or Pen:
For threading the ribbon through the tutu.
DIRECTIONS
First you want to fold the fabric lengthwise three times (or two if you want a longer tutu but then I definitely recommend adding at least one more tulle layer.) Once fabric is folded sew a half inch in from the folded edge. This is to create a pocket for the ribbon to go through much like a curtain rod through a curtain. See below...

Here is me sewing it along the folded edge:

After this is done, take a long piece of your 1/2 inch threading ribbon (I recommend not cutting it until you have it threaded into the tutu) and tape the end to the end of a dowel, knitting needle, pencil or pen. This is now your needle as you thread the ribbon into the loop you just made by sewing the folded edge of the tutu.
After you have the Ribbon threaded on, you can play around with gathering the tulle to achieve the perfect gather and width you are looking for. Pin along ribbon to hold it's place.

It will look something like this:

Now we wand to sew those pleats you made and also add the decorative 2" ribbon to the top. All I did for this was pin the 2" ribbon and sew another 1/2'' from the folded edge. I was careful to do this in a way that I didn't sew the threaded ribbon because I liked the mobility of the ribbon, and if I erred on the side of too big with my pleated tulle, I could just scrunch it in more.

Once this is done then you're almost finished! The last thing is to cut apart the looped bottoms of your tutu so that they fluff out more. BUT this is also where you could get creative. Instead of cutting open the bottoms you could try adding flower petals and sewing each end instead creating a bubbly tutu with petals! Or you can cut apart the bottoms and make a few random vertical cuts up to the hem and ribbon to add more fluff-ability as your little princess bounces around.
The options are endless!!

He he he...

...
Wednesday, March 2, 2011
Pointy Kitty Plush Toy
=^..^=

Who can resist a something so cute?
I couldn't.
So I am here to save you, and show you how! I got this pattern from Wee Wonderfuls. It is actually a free pattern that you can download off Hilary's site:
Download Here:
So, after reading through all the lovely instructions, I decided I wanted to make my Kitty a bit larger, but by all means keep it easy and just print her pattern if you like. All I did was bring it into my computer and I uniformly made it about 25% bigger (I bought 1/2 a yard of fabric to supplement this change). After that, I cut out my pattern!

Then!
Then I pinned the pattern to my fabric, per the instructions (doubling my fabric over). These where my fabric choices (I chose to make the belly a different pattern for fun)

Then!
Then I cut out the fabric, and followed further instructions as to sewing the little beautiful together. Needless to say I made a dummy kitty first, which didn't turn out too hot, then I made a second as seen headlessly standing proud in the foreground of this next photo...

Then!
When it came time to stuff, I made the mistake of not packing that little bugger to the brim with stuffing the first time. The second one I stuffed, and I mean STUFFED the living daylights out of the kitty and it was much better. I used a knitting needle to stuff the skinny parts. (Just try not to snicker as you read this and try not to break any seams!).

Then!
Then I assembled the head and before attaching the head to the body, I hand-sewed on the felt stripes on both the head and the body... (I picked a real nice contrasting color to the pink).

Then!
Then I sewed on the eyes and nose which I chose to cut out of felt because buttons are a no no if you actually plan to let your little one play with this toy. Choking hazard!

Then!
Feeling like Jack Skelington's girlfriend in the Nightmare Before Christmas, I somehow managed to sew up all the open holes and get the head on. It looked good, but I thought for cuteness sake I'd add a bow around it's neck, but again, if you're going to give it to your child: A: Really sew that head on, and B: Lose the ribbon, we don't need any choking, again.
And there you go! A cute, cuddly, home-made plush toy for either baby, or bragging shelf!
=^..^=
...
Subscribe to:
Posts (Atom)